Riding your Fafrees bike is a fantastic experience, but occasional mechanical issues can interrupt your journey. While your first instinct might be to visit a repair shop, many common problems are surprisingly easy to fix at home, saving you both time and money. This guide will walk you through 16 frequent bicycle issues, helping you diagnose them and get back on two wheels quickly and confidently.
Problem 1: Annoying Noise When Pedaling
Potential Causes and How to Fix It:
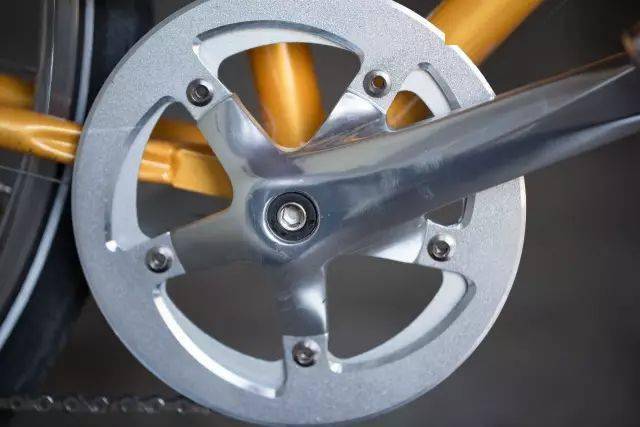
Pedaling noises often stem from looseness or friction in the crank arms, bottom bracket (the axle your cranks spin on), or the pedals themselves. For instance, if a crank bolt is loose, try tightening it to the manufacturer's recommended torque. If the noise persists, the crank arm might need to be removed, the bottom bracket spindle cleaned and greased, and then the crank reinstalled. Also, check that your pedals are securely tightened into the crank arms (remembering the left pedal is reverse-threaded).
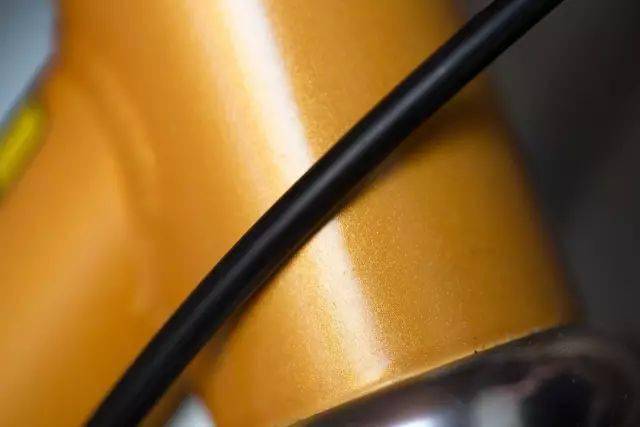
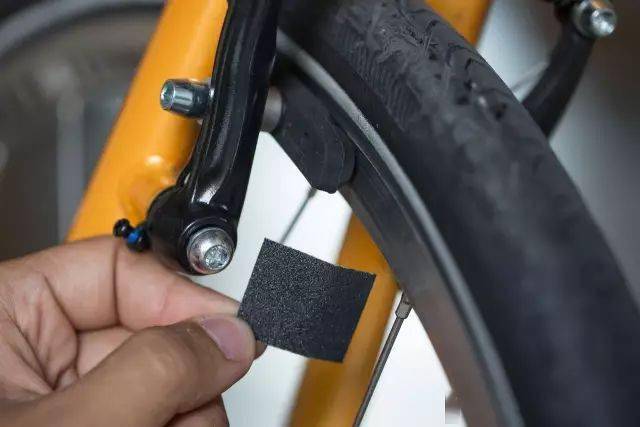
Problem 2: Gear Cable Rubbing Against the Frame
Potential Causes and How to Fix It:
Constant rubbing from gear cable housing can wear away your bike's paint over time. To prevent this, apply protective clear stickers, anti-friction silicone patches, or specific frame protector strips (sometimes called "rhino tape") to the contact points on your frame.
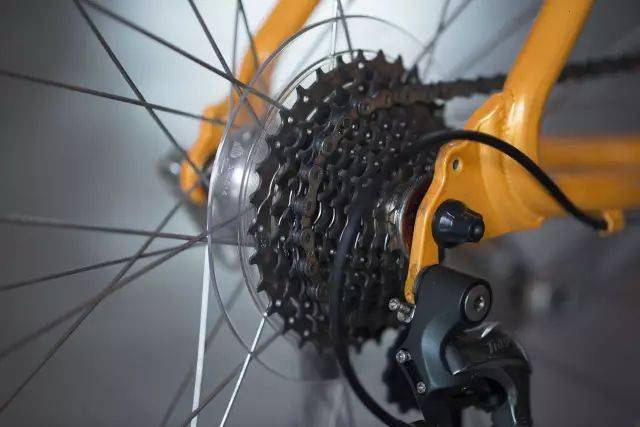
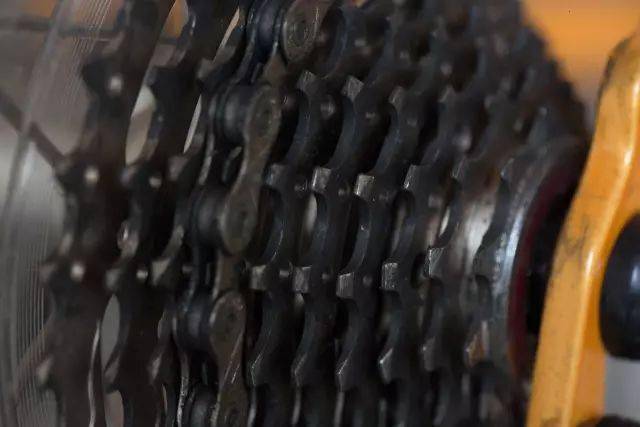
Problem 3: Rusted Cassette or Freewheel

Potential Causes and How to Fix It:
If rust is minor, apply a quality bike-specific lubricant or chain lube to the cassette or freewheel cogs. This will help prevent further rusting, and the chain's movement during riding can also help wear off some surface rust. For more significant rust, you might need to gently clean the cogs with a degreaser and a soft brush before lubricating. Regular cleaning and lubrication of your drivetrain are key to preventing rust.
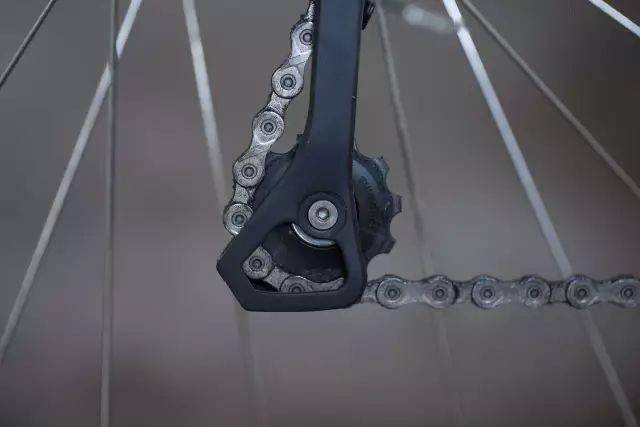
Problem 4: Persistent Squeaking from the Rear Derailleur
Potential Causes and How to Fix It:
- Bent Derailleur Hanger: A crash, impact, or even just leaning the bike incorrectly can bend the derailleur hanger (the piece connecting the derailleur to the frame). Visually inspect its alignment. If it's significantly bent, replacement is usually the best and safest option, as re-bending can weaken the metal.
- Dirty Jockey Wheels: The guide and tension pulleys (jockey wheels) on the derailleur can accumulate dirt and grime. Clean them thoroughly with a bike-specific cleaning agent or degreaser, then apply a drop of lubricant to their bearings. Wipe off any excess oil.
- Worn Jockey Wheels: If the teeth on your jockey wheels are severely worn (e.g., sharp instead of slightly blunted), they can cause noise and poor shifting. In this case, replacing the jockey wheels is recommended.
Problem 5: Chain Making Abnormal Noises
Potential Causes and How to Fix It:
The most common cause is a dry chain lacking lubrication between its links and rollers. Apply a quality chain lubricant evenly across the chain, allow it to penetrate, and then wipe off any excess with a clean rag to prevent dirt accumulation.
Problem 6: Gears Slipping or Jumping When Pedaling
Potential Causes and How to Fix It:
This often occurs if debris like mud, grass, leaves, or twigs gets lodged between the cassette cogs, preventing the chain from engaging properly. Clean the cassette thoroughly. If there's no debris, the issue might be a worn-out cassette and/or chain. Chains stretch and cogs wear down over time, leading to poor engagement. In this scenario, replacing both the chain and cassette is usually necessary for optimal performance.
Problem 7: V-Brakes Feel Weak (Despite Pads Not Being Worn Out)
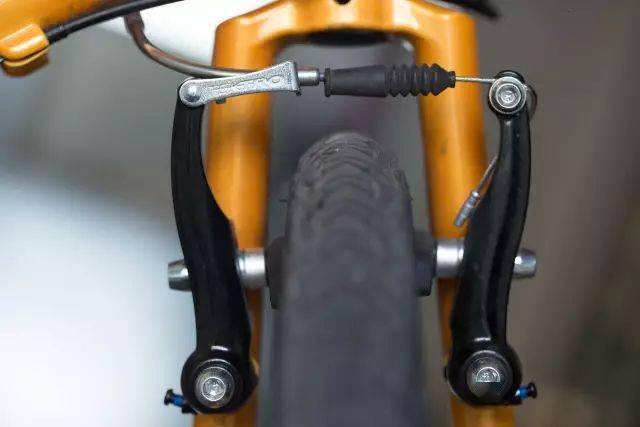
Potential Causes and How to Fix It:
Weak V-brakes can result from loose brake cables or excessive wear on the machined braking surface of the rim. Try turning the brake cable's barrel adjuster (usually found near the brake lever or caliper) counterclockwise to tighten the cable and bring the brake pads closer to the rim. Adjust the tension to your preferred sensitivity. Also, ensure your brake pads are clean and not glazed; lightly sanding the pad surface can sometimes restore grip. If the rim's braking surface is significantly concave or worn smooth, rim replacement might be necessary for safe braking.
Problem 8: Squealing Noises When Braking
Potential Causes and How to Fix It:
- Brake Pad Contamination or Quality: Low-quality or overly hard brake pads can cause squealing. Contamination from oil or grease is another common culprit. Try cleaning the pads and rim braking surface with isopropyl alcohol. If noise persists, consider replacing the pads with a better quality or softer compound type.
- Improper Pad Alignment: If brake pads are angled incorrectly or hit the tire, they can squeal. Ensure the pads are aligned to meet the rim squarely and that the front edge (toe-in) of each pad contacts the rim slightly before the rear edge.
- Embedded Debris: Small particles of aluminum or road grit can get embedded in the brake pads, causing noise as they scrape against the rim. Carefully remove the debris from the pads using a pick, or lightly sand the pad surface.
Problem 9: Chainring Bolts Spin When Trying to Loosen/Tighten
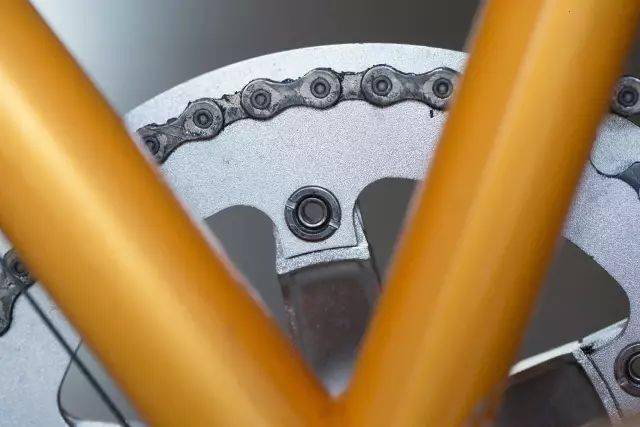
Potential Causes and How to Fix It:
Chainring bolts are often a two-part system. If the nut on the backside spins with the bolt, you'll need to use a chainring nut wrench (a thin, slotted tool) or sometimes a wide flat-blade screwdriver to hold the backing nut in place while you turn the bolt with an Allen key.
Problem 10: Pedal Falls Off
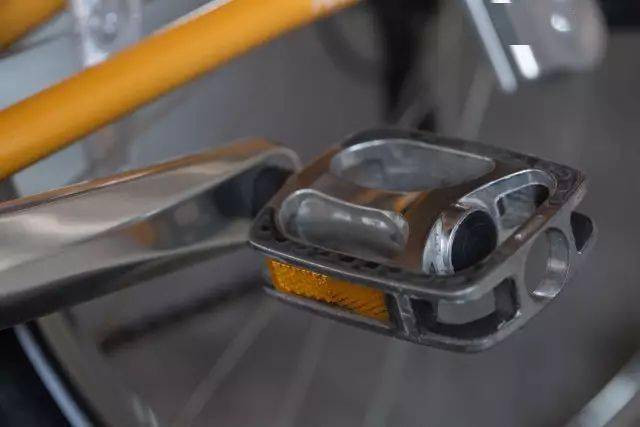
Potential Causes and How to Fix It:
If a pedal falls off, inspect the threads on both the pedal axle and inside the crank arm. If the threads are intact, you can likely reinstall the pedal and tighten it securely (remember: the left pedal has a reverse thread, so it tightens counterclockwise; the right pedal tightens clockwise). If the threads in the crank arm are stripped or damaged, do not attempt to force the pedal back in. This usually requires replacing the crank arm.
Problem 11: Crank Arm Falls Off
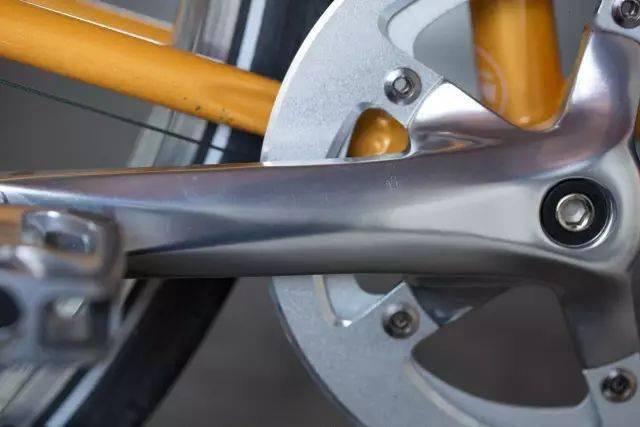
Potential Causes and How to Fix It:
A crank arm typically falls off because the bolt securing it to the bottom bracket spindle has loosened. Regular riding, especially with high pedaling forces, can gradually loosen these bolts. It's crucial to check them periodically and tighten them with the appropriate tool (usually a large Allen key or a socket wrench, depending on the crank type) to the manufacturer's specified torque.
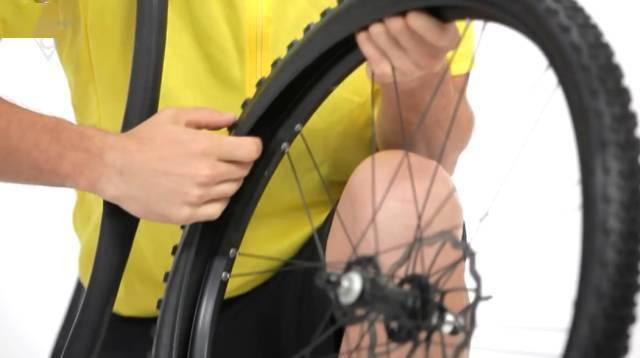
Problem 12: Outer Tire is Torn or Split
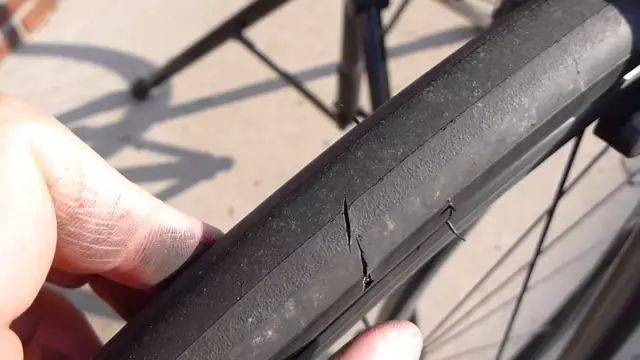
Potential Causes and How to Fix It:
Harsh road conditions, sharp objects, or extended off-road riding can lead to tears or splits in the tire casing. A compromised outer tire can easily cause the inner tube to puncture or burst. Observe the location and size of the tear. If it's on the sidewall or a large gash (more than 0.5cm or 1/4 inch) on the tread, the tire should be replaced immediately for safety. For small tread tears, an emergency tire boot (a strong, non-stretching patch placed inside the tire, like those offered by Park Tool) can serve as a temporary fix to get you home, but replacement is still the best long-term solution.
Problem 13: Tire Punctured by a Nail or Sharp Object
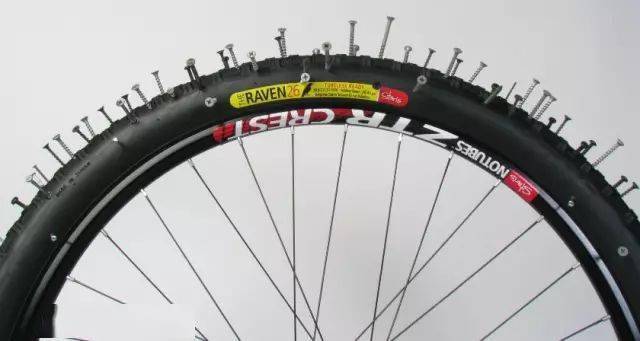
Potential Causes and How to Fix It:
If your tire picks up a nail or other sharp debris, remove the object as soon as possible to prevent it from causing multiple punctures in the inner tube or further damaging the tire. If the inner tube has only a small hole or two, you can repair it using a standard tire patch kit. Alternatively, replacing the inner tube entirely is often quicker and more reliable, especially on the go.
Problem 14: Inner Tube Deflates Immediately After Repair/Reinstallation
Potential Causes and How to Fix It:
This frustrating issue usually points to one of two things: the rim tape is misplaced or damaged, or a sharp object is still embedded in the tire. If the new puncture on the inner tube is on the side facing the rim (the inside curve), your rim tape may have shifted, exposing a spoke hole edge which then cut the tube. Ensure the rim tape is centered and covers all spoke holes. If the puncture is on the outer side of the tube, there's likely a small, sharp object (like a tiny piece of glass or wire) still lodged in the tire casing. Carefully run your fingers along the inside of the tire to locate and remove the culprit before installing a new or patched tube.
Problem 15: Frequent Tire Punctures

Potential Causes and How to Fix It:
Frequent flats are often due to chronically low tire pressure (leading to "pinch flats" where the tube is squeezed against the rim), riding too aggressively over rough terrain without caution, or worn-out tires. Always inflate your tires to the pressure recommended by the manufacturer, which is printed on the tire's sidewall. This pressure range can vary significantly based on tire type (e.g., road, mountain, hybrid) and rider weight. For Fafrees e-bikes, which can be heavier than non-electric bikes, maintaining proper tire pressure is especially crucial. Additionally, make a habit of inspecting your tires for embedded debris and check that your rim tape is in good condition and properly positioned.
Problem 16: Tire Patch Fails to Bond to Inner Tube
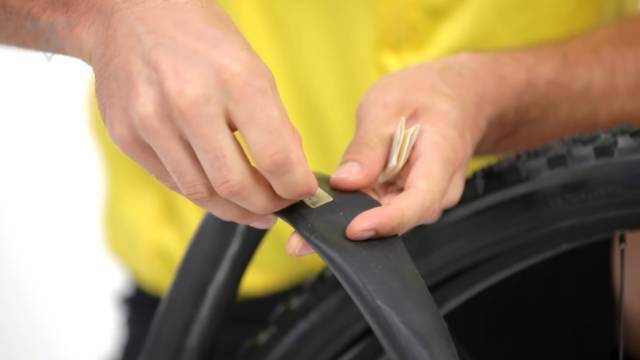
Potential Causes and How to Fix It:
A successful patch requires proper preparation. Failure often occurs if: the inner tube surface around the puncture wasn't roughened sufficiently with sandpaper; impurities or moisture remained on the surface; there's an air gap between the patch and the tube; too little adhesive was used; or the patch was disturbed before the adhesive fully cured. To ensure a good bond: clean the area around the puncture thoroughly. Mark the puncture. Roughen an area larger than the patch with sandpaper. Apply a thin, even layer of rubber cement (vulcanizing fluid) and let it dry completely until it's tacky (usually 3-5 minutes – it should look matte, not wet). Press the patch firmly onto the centered puncture, especially at the edges. For a more convenient option, consider using pre-glued (glueless) patches, though traditional patches often offer a more permanent repair.


